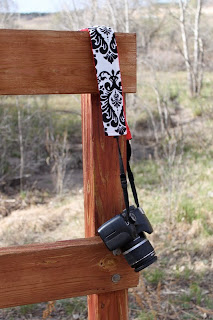
My husband bought me my first SLR camera last year for Christmas so of course I had to dress it up somehow! I luckily had a few fabric scraps lying around, so I came up with this! This is a GREAT beginner sewing project so if you are looking for something easy and quick, then this is definitely for you!
 First, here is the list supplies you'll need:

Cutting Mat
Cutting Ruler
pins
1/8 yard of two coordinating fabrics each
Coordinating thread
Rotary cutter
Scissors

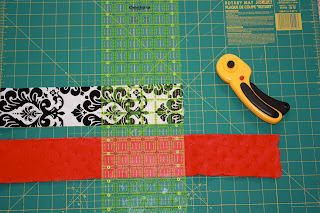
Ok--to get started you need to cut both your fabrics to be 28x3. Now, that's what it was for my camera strap...measure your strap to figure out your exact measurements, taking into consideration a .5 seam allowance. Here I've cut it to be three inches wide:


Here I cut it to be 28 inches long. Adjust your measurements according to your personal camera strap.

Now, you fold your fabric .5 inch and press with your iron. Make sure your wrong sides of the fabric are touching.


Repeat this on both sides of each fabric piece, like so...


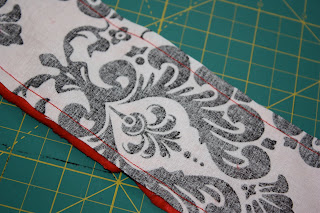
Stitch right along the edge--use a .5 inch seam allowance. Repeat on both sides of both fabric pieces.


Pin fabric pieces together, right sides together.


Stitch down both sides of fabrics--remember to back stitch!

Now turn your fabric...you can use whatever you want to help turn it--I usually use a wooden spoon, or this cute salad spoon I have.


Now iron it until it looks pretty and.....


Now iron it until it looks pretty and.....

YOU'RE DONE! See how easy and quick that was?


Now, this is just a very basic camera strap....if you wanted to bling it up or deck it out, just do so before sewing your two fabric pieces together. There is so many fun possibilities with this project! Please please send us pics of ones you make! Just email us--we'd LOVE to see your creativity and spin our this project! xoxoxo, B


0 comments:
Post a Comment