Remember our Fabric Headband Tutorial? We showed you how to take all those scraps you can't bear to part with and to make an awesome Rosette Headband.
Well we've create a whole new Scrap Fabric Headband!!! It features a frayed Spiral Flower! It's so easy and beautiful. It's flat and perfect for a headband. Becky and I have gone crazy and made a million new headbands for you all to enjoy!!! Check out our new headband collections. I can't get over our Halloween Collection.

Buy one of our Custom Fabric Headbands in our Etsy store. We have so many different Fabric Headbands to choose from.
Fabric Headband Tutorial
Here is the list of items you'll need:
Fabric scissors
Junky Scissors(to cut felt with)
Glue gun
Glue sticks
1/8 yard 100% cotton fabric--for the headband
scrap fabric for leaves
long skinny scrap of fabric for flower
Coordinating thread
Felt

Step 1: First things first--CUT OUT YOUR HEADBAND. There isn't a wrong way to do this--my only rule while doing this is that it's about 2 inches wide in the middle and about 1 inch at the end. Make it long enough so you can tie it in a knot at the back of your head. I cut mine about 28 inches in length. (This picture already has the stitching on it, which is the next step, but it gives you an idea of how the ends are tapered in.)

Step 2: Stitch Around Edges. Stitch right along the edges of the headband...use approximately a 1/4 inch seam allowance. This gives it a little durability and makes it a little more chic! ;)
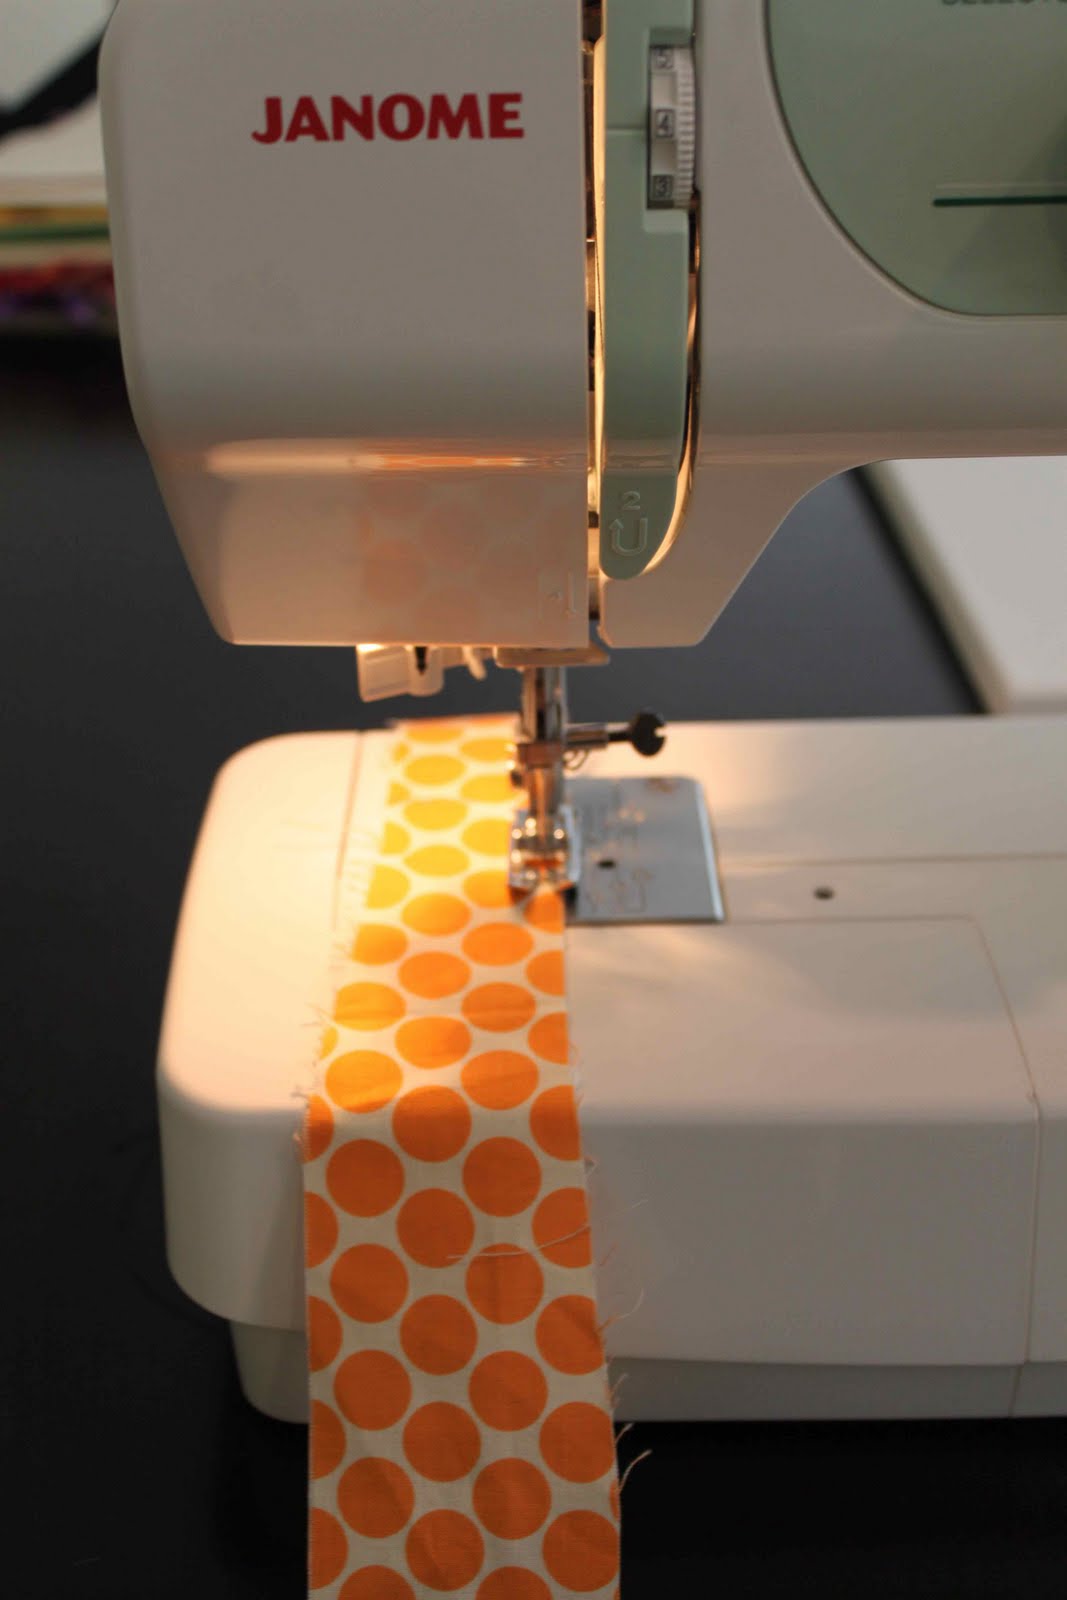
I double stitched around this one and added some fun zig zags.

Step 3: Cut Out Leaves and Sew On. Grab a tinny piece of scrap fabric and cut out some little leaves. This will give your headband more dimension. For this headband we used some awesome black velvet!!! Then simply stitch around the edges to attach it to the headband.

Step 4: Make Your Flower. Each of our headbands features a unique flower. For this tutorial we are going to do a Spiral Flower. Cut a long skinny strip from a piece of fabric. Mine was roughly 1/4 of an inch wide. You'll also want to cut out a circle from some felt for the base of your flower. The bigger your circle is the bigger your flower will be.

Then you are going to fray one side all the way down the fabric. I love it looking really frayed, but you can pick it apart to your own preference.

Next, take your hot glue gun and put a light layer of glue around the outer edge of your felt circle. Then glue your fabric strip around your circle with the frayed edge out. You will have to fold or ruffle your fabric a little to make it around the circle.

Continue adding layers until your flower is complete!!!!

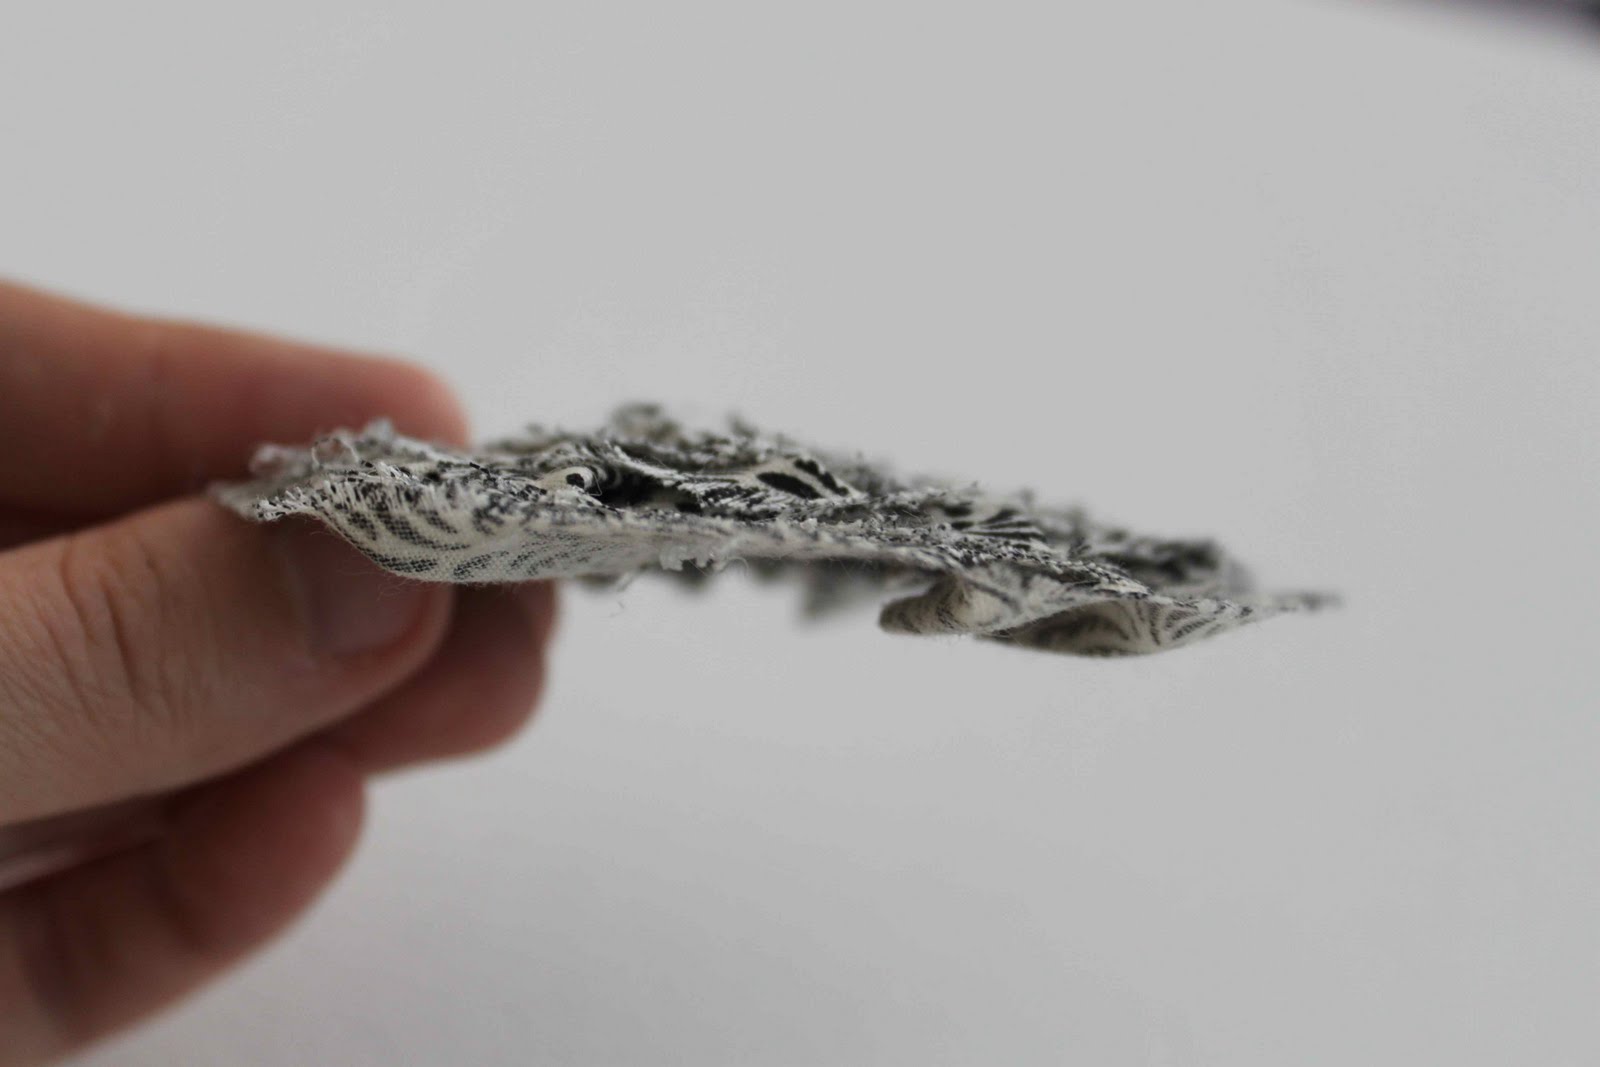
Step 5: Glue On the Flower. To finish your headband add a lot of hot glue and glue your beautiful flower to the headband in between the leaves. Now, your headband is finished!!! Check out our headband collections for your own inspiration or buy one at our Etsy store.


