CLICK HERE FOR FREE BLOGGER TEMPLATES, LINK BUTTONS AND MORE! »

Sunday, August 26, 2012

Self Portrait

I have made so many canvases for other people. I finally sat down and created some for me. You can follow my mixed media art here


Tuesday, May 29, 2012

My Art


"Beautiful art is beautiful, but meaningful art is so much more beautiful." Junelle Jacobson with the Yes and Amen blog 

These last few months have been insane!! I was pregnant with our 3rd child and having some complications so I went to live with my mom in Arizona for a few weeks. Then I came home and had our little miracle baby Miss Lydia Julia, named after my grandmother who I love and adore so much. Then we had an amazing oppertunity thrown at our feet to buy a new house. It was too good to pass up and our lives got even crazier. 

In the midst of all the caos I signed up for an art class called the Art of Wild Abononment. You can find out more information on this class here.  It might seem strange that in the midst of so much going on, that I added another thing to my plate, but for me, crafting keeps me sane. Some times I do too much and loose my focus, but art and creating help me express things. They help me show love to people I care about. I love sewing because it's relaxing to me. When life seems out of control it's soothing to sew. You follow the steps and everything will be alright. 

My lastest love is art journaling. I discovered this new way of creating with Christy Timlinsons's She Art Class. You can find out more info here. I have been really inspired to make canvases inspired by people that I love. I usually have something I want to say and I can express it in these people canvases. I have loved it and will continue to expand this style of art into my own. You can see some of my past pieces here. But I have felt a little stuck. I have yet to do a canvas about me. It seemed weird to make a canvas about myself. Where would I even start...

I felt like I needed some art in my life and felt compelled to sign up for this new class with a new teacher Junelle Jacobson. She has been such an inspiration to me. She loves God and finds so much joy in the simple things around her. The way that she teaches opened flood gates inside and the ideas just started coming. I really felt like I wasn't copying someone else's ideas but was pulling out ideas from inside of me. I finally felt like I could put some of thoughts and feelings down on a page for the first time...


Junelle often starts her art with a sketch. Just that simple idea of sketching really clicked with me and ideas just started to flow. I would have all these ideas in my head, but didn't have the time to do a full project star to finish all the time. That's why I love sketching. I can get the idea down before I forget and work on it later. Sometimes I really want to develop it. Sometimes it was enough to just sketch about it.

I learned so much in this class. I love thumb nail sketches! All you do is divide your page into small sections and do small sketches just to get ideas going. I love when she would give us a word prompt and them have us see how many thumb nail sketches we can do. I love it because there is no pressure. Some sketches are great. Some not so much, but it doesn't matter. I feel free to explore and that's the great thing!!!


Here are a few of the pages we have done in the class. ..

I loved that the first lesson was on radishes. It was hilarious and perfect!


These little owls were so cute. Instead of doing watercolors, I couldn't resist doing some paper piecing and my acrylic paints.


This was called the Spring Line and was the result of us sketching about Spring. I adored this idea and had to make one of my own.


I am so excited to share the beginning of this journey with you. There is lots more to come...


Thursday, March 15, 2012

La La Loopsy Sleeping Bags Tutorial

For Christmas Santa brought our girls tons of La La Loopsy's.  They are the cutest dolls with the cutest houses and little animal friends.  If you have no idea what I'm talking about GO TO TARGET and buy some.  They are just as addicting to me as they are to the kiddos.

So I have a ridiculous amount of fabric scraps and many of them are pretty tiny.  I was digging through them the other day while my girls were playing with their dolls.  They and their dolls happened to be camping and the thought dawned on me--they need sleeping bags if they are going to be camping!  Sick I know, but cute right?  So, right then and there I called the girls in and we picked out fabric scraps together.

Here's how I made them:
1. Cut 2 3x4 rectangles (mine were out of flannel and corduroy scraps)
2. Put them Right sides together
3. Trim one of the 3" edges with pinking shears
4. Sew around the non pinked edges (remember to backstitch!)
5. Trim the corners if you like
6. Turn the bag to the right side out
7. Iron flat
8. BAM--You are done!  

Now--make one for every single one of those La La Loopsy dolls, otherwise your kiddos will complain that one of their dolls was cold on their camp out. :)   My girls have LOVED these!  They haven't stopped playing with them since we made them.  See for yourself:)  
I was so happy to use that houndstooth scrap--none of that fabric should EVER go to waste!  It's way too cute:)


Another great activity to do with your kiddos!  If they are old enough have them make them up for themselves--obviously this is the perfect beginners sewing project!  Gotta LOVE using up those scraps!  Have Fun!
xoxo, B

Wednesday, February 15, 2012

U-Create Kids Creative Guests!

Hey!  Check us out as a Creative Guest On U-Create Kids today!  We are sharing our Easy Peasy La La Loopsy Sleeping Bag Tutorial.  Thanks to Becky from U-Create Kids for having us!  
 xoxo, B

Tuesday, February 14, 2012

Happy Valentines Day!

I just LOVE Valentines Day...Ahhhhh.  Here's what I've been up to today--early AM made heart shaped Pancakes--Funny story: I talked to my older sister this morning and she asked me if my Valentines Day breakfast was any fun this year...I told her it was fantabulous because I made heart shaped pancakes and the girls loved it.  She laughed and said she made the same thing.  This afternoon my little sister asked me if I did anything fun today for Valentines day and I told her about the heart shaped pancakes.  She started laughing and said she made some too!  What's funny is that it's not like our mom did this for us growing up.  Sometimes we three just share a brain.  What's even funnier--we are all having the same thing for dinner too--Papa Murphy's heart shaped Pizza's...Hurry there is still time to order one if you are trying to be easy and festive tonight!:)
 The girls about passed out of excitement when they saw what Mommy and Daddy got them for V-Day.  They played with it all morning and only stopped because I told them to come upstairs and help me make: 
 These--Lexie needed to take these to preschool this afternoon so they could decorate them. I tried a new recipe I found off Pinterest--seriously AMAZING!
 Then I helped the girls make these--we aren't going to water paint them yet though--The girls are waiting for daddy to get home and discover their secret messages--some of their sayings are HILARIOUS!!  I found this off Pinterest too--go here to check it out. :)
This is a little something I made my Valentine this year.  Again--found the idea off Pinterest.  Go here.
My life has been so easy thanks to Pinterest.  This Valentines Day was a breeze!  If only every Holiday were as worry free as this one was. :)  Hope you are all enjoying your V-Day as much as we are!  
xoxo,B

Tuesday, February 7, 2012

Wipes and Diapers Clutch

I've made quite a few of these over the years....it's a baby shower gift fall back for me.  It's a great project to use up those fabric scraps.  I figured I'd show you my latest one.  My Mom came into town while my  husband was out of town so we partied!  Meaning we made a bunch of stuff together.  We made this for my cousin who's about to have her first baby girl.  She makes the best cupcakes I have ever had in my life so we thought this was very fitting :)


I think the jewel in the button is my favorite--who doesn't love bling right?  I really should make one of these for me just to slip into my purse--I don't have to have a baby in order to have one right?  Anyway, I have I think 4 more of these already cut out so the next time a baby is born I'm halfway done with their present--halfway is better than nothing right?  What do you think?  Is it as cute as cupcake?
xoxo, B

Thursday, February 2, 2012

Box Top Pot Holder Tutorial

It's good to be back!  Whoooo!  Life has been a little...well life has just been life!  Crazy, fast paced and full of surprises:) In the wintertime I find myself cooking and baking a little more than usual.  I've gotta pack on those extra pounds I just love to pack on somehow right? (P-SHAW!)  Anyway--
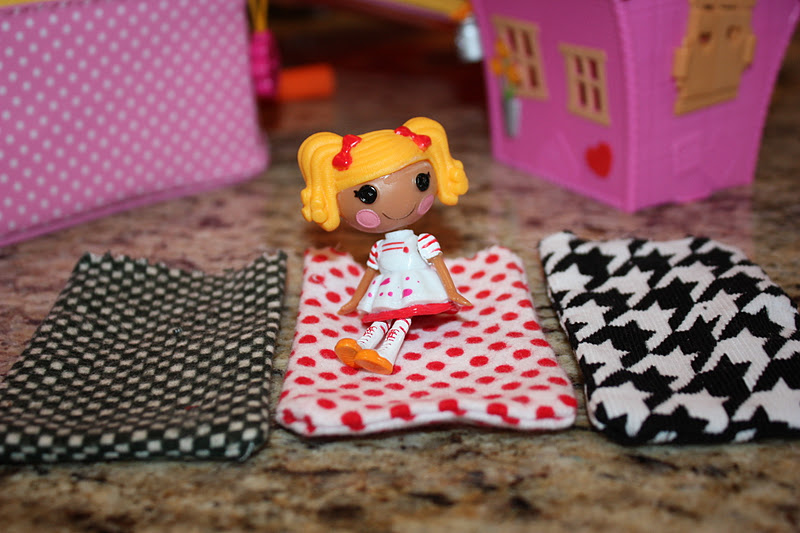
When I was visiting some family over the holidays I came across some darling little hot pads (Thanks Marie!)--much cuter than any I've ever owned!  I had to make some for my kitchen--I even had fabric scraps just lying around waiting to be used--and this is what I came up with:


 I wish I had the kind of oven that I could hang these from because I want everyone to see them!  Oh wells--at least when I pull out my cookies I have two reasons to smile:)  

Here's whatcha need to make them:
5 8x8 fabric coordinating fabric squares
1 8x8 square heat resistant material (I got mine at walmart)
basic sewing notions and machine
button (optional)


1.  To start iron 4 of your 8x8 fabric squares in half, wrong sides together like so:

 2. Build your pot holder--Take your heat resistant square with the shiny side facing up.
 Put your other 8x8 fabric square on top, right side up.
 With your folded edge towards the center--start layering your box top.  Follow the pics!  Here's 1 piece:
 2 Piece:
 3 Piece:
 4 piece:

 Viola!
 3. Pin the junk out of this thing--You have a ton of layers of fabric you are working with.  Make sure it's nice and smooth.
 4.  Sew around the edges
 5. Clip the corners and turn your fabric.
 6.  Make sure to get all this corners nice and rounded and iron it for heavens sakes!  
  7. Add a button if you'd like--or not if you don't:)

 This is a GREAT beginner project so get out some scraps and make them with your kiddos!  My Mom came into town and we had a ball making them.  I know you will too!
xoxo, B